
This is the basic way that I make wonky hearts. There are many other methods to make hearts, but I've found this to be the easiest way to get a bit of a rounded shape. Have to admit to being out of practise with the hearts - don't think I've made any in four years.
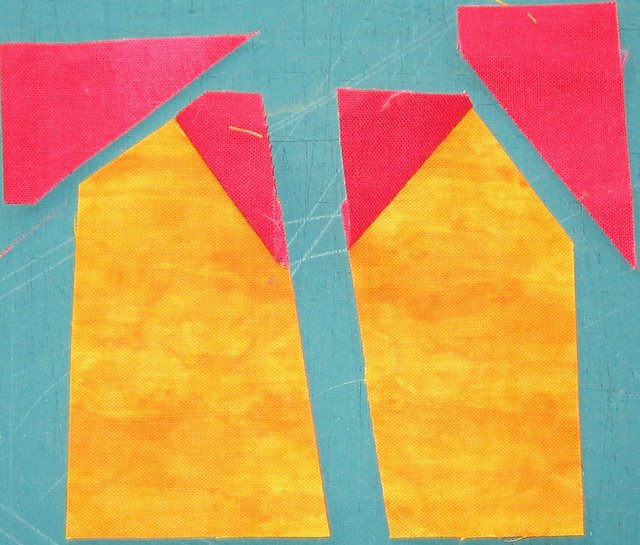
First off, I start with a square or rectangle and cut through the middle of it. I like my hearts to lean so I cut at an angle. This particular square was 3 1/2".
Next I lay one of my heart pieces on top of a background piece so that I can slice through the fabrics at the same time. Just have to make sure that there is at least a quarter inch or more of the background sticking out. This is just a bitty triangle. Repeat for the other side as well.
 This is what the background triangles look like before they get sewn on.
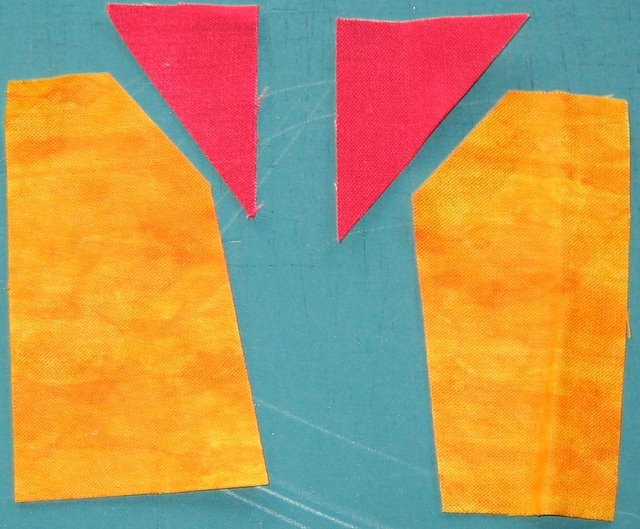 As usual with triangles, at least a quarter inch has to be offset.
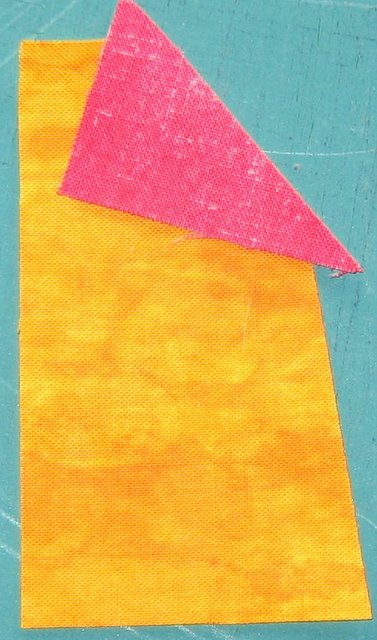 This is what it looked like when I sewed both those triangles on. I obviously cut the one on the left a bit too skimpy.
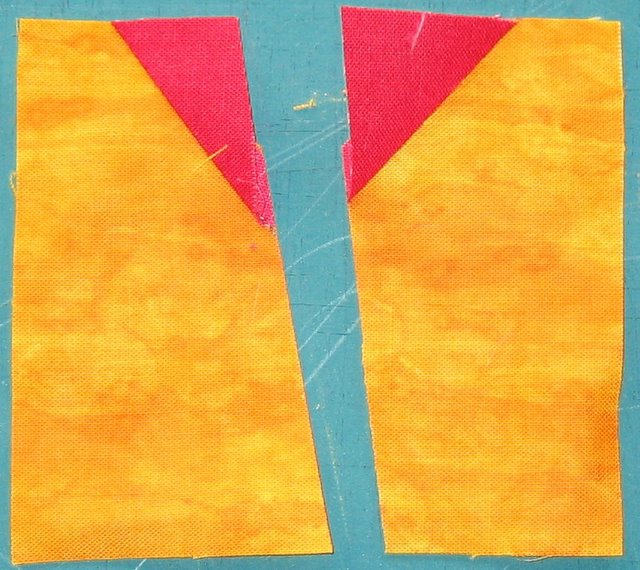
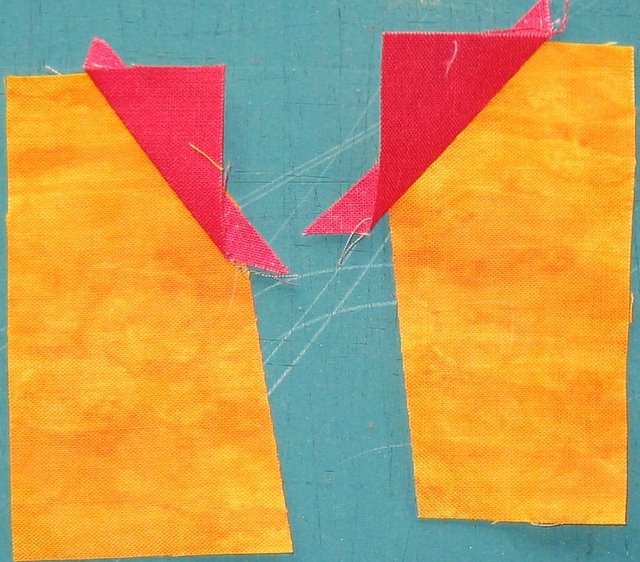 Not to worry, I just made my cut a bit deeper when I straightened up the sides. Now when I say straighten - I mean a straight edge following the heart fabric.
 New triangles are made for the upper outer corners, in the same manner as the earlier triangles.
 After those are attached, you'll straighten the edges just like we did before, following the edge of the heart fabric.
Bigger triangles are cut for the bottom outer corners. For this step, make sure to at least hit the inner corner with your cut. If you make too shallow of a triangle, you'll have a flat-bottomed heart (which isn't necessarily wrong).
 Attach those triangles.
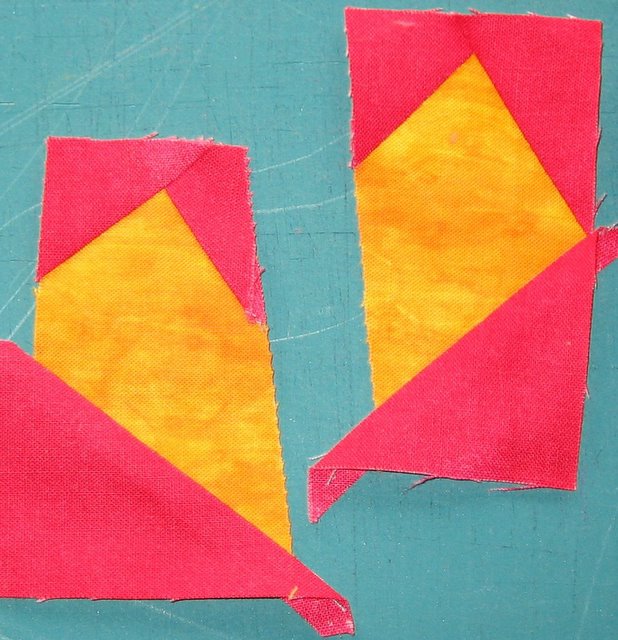 Straighten the edges and join together.
 To finish off the heart block, attach fabric to the sides, and top or bottom if needed. When I made "All You Need is Love" I only added the side fabric as I joined the units together (ie one strip of fabric in between heart units, not two).
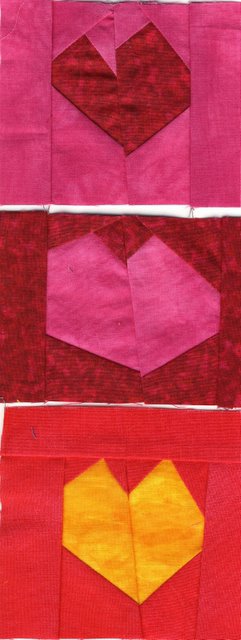
Here are some hearts I've made recently. I'm not liking those pointy bits I'm getting on top of the hearts - I'm going to have to do a better job of not overlapping those top triangles. I also like it better when the bottom bits of the heart come right together - I like them more offset. I'll loosen up as I keep playing.
4 comments:
Morning Ton, these hearts look great..practice or not practice!
I fell asleep last night thinking about hearts..string pieced fabric for the "parts"...not sure how that will work..maybe?? *G*
Trying to get a quilt top and backing together and get it off to Bonnie..then I promised myself a "play day"...*VBG* Have a wonderful weekend..*S*
Thank you for your instructions !! I think you can write a book :c) .. This is on my list to try :c)
Tonya - you always amaze me! I was on only a few short hours ago, log in again and wha la!
Chat later - today is update computers day!
love the tutorial..like Finn, I am thinking more of string-y hearts to play with..now that I have sorted a bin of strings to play with. your hearts look so fun! and I love the brights you use...
Post a Comment