Start with squares, or rectangles if you prefer. The ones I'm doing here are 4 1/2" and the strips I'm inserting are 1". I've done these with various widths of strips but I stop liking it after they get wider than 1 1/2" - but that just may be me. Working with the 1" strips, I end up with a block the same size I started out with or a bit smaller, depending on how uneven I pieced it.
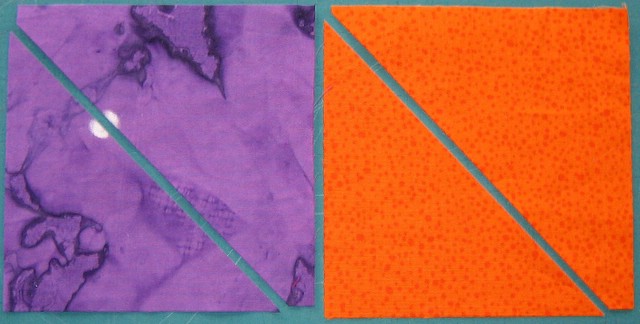
These start out a lot like Xs. Slice from one side (or corner) of the square to another side or corner. The slice can bisect the square or be angled. In the purple block, I'm aiming to get the center of my burst offcenter, where that white chalkmark is (tho the mark got swallowed up in seam allowance). Sew your strip of fabric to one side of the triangle and then to the other. This is what I call inserting a strip.
 Slice again, so that you'll be making something of an X. Insert a strip.
 Third strip
 Fourth strip
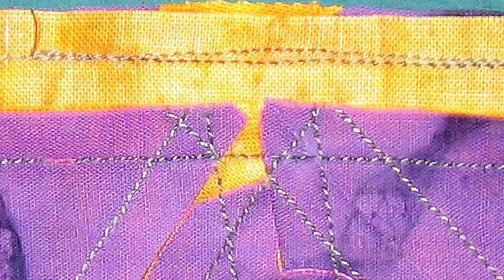
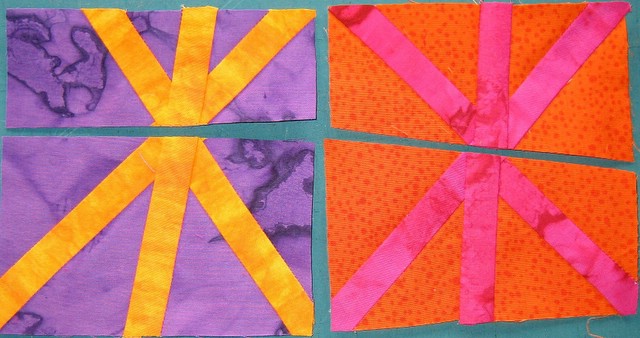 Here's a tip that I completely forgot about. After making each slice, check out the back of the block and cut off any dog ears. That will help lessen the bulk in the middle of the asterisk.
 And if you do have problems getting over the bulk, just run back over that spot again.
 Other helpful hints: I piece with the strip at the bottom and the background on the top. Don't iron until after you have sewn both sides of an inserted strip - this will help the block keep its shape. I often don't iron until I've done the whole block, but that's me, non-ironing girl.
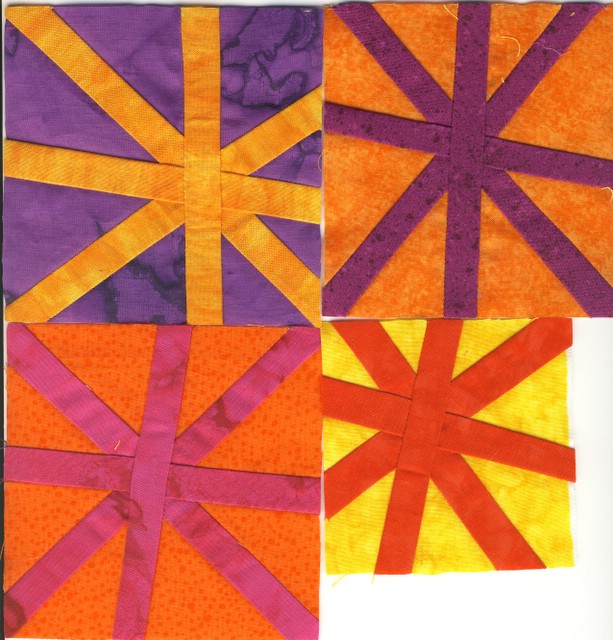
And here are some completed firework bursts for my current quilt:
6 comments:
Oh you are so good with your ideas and instructions!
I think these are the blocks you showed me for my spiders in my quilt "in my head" right?
Thanks for the idea! I loved your clear instructions and may "go play" with some inset strips on a FAP tonight...
They look great! Thanks for the instructions! I need to get busy and play with these ideas.
Great instructions - will have to make me some of these :-)
as always, nice step by step photos, thanks! love the colors
thanks for the great tutorial. The asterisks are neat!
Post a Comment