 The next step is to round off the bottom corners a bit. I decided to make the slice off the teacup fabric first and then create the background triangle to fit. You can however just sew on an oversided triangle of background.
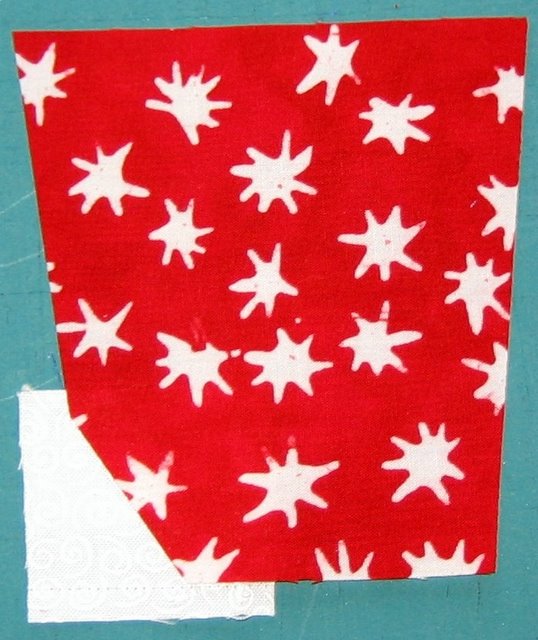 This is me creating the background triangle. Don't do what I did. The background has to be a quarter inch larger than what you're sewing it to. Don't know why, but I always seem to get mine a bit small. So use a very generous quarter inch extra.
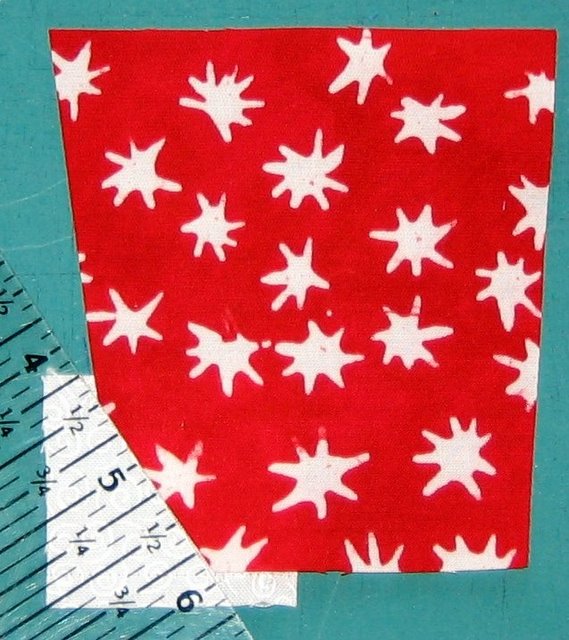 This is what the teacup base looked like with both the background triangles sewn on. See what I mean about me getting mine a bit undersized?
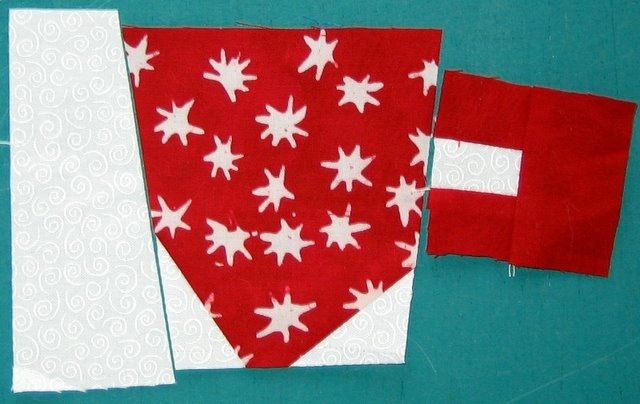
 I straightened up both sides of the teacup. I overlapped the teacup on the background fabric on the left side and sliced the angle through the background. That way you don't end up with bias on the edge of the block. However, you can just sew on a generously wide strip of background - that does work fine just be careful with the bias.
Meanwhile on the right side I've created my handle. It's a U shape. There are so many different shaped handles you could play with, but this one is certainly easy.
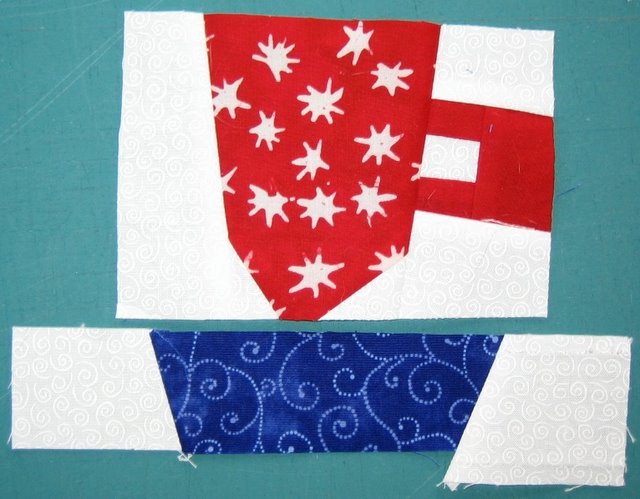
 This is with the left-side background sewn on and showing the handle sewn to rectangles of background.
 Handle sewn on and the block evened up across the top.
 I evened up the right side, using the handle as the guide.
 And evened up the bottom. You'll notice I did this at an angle, making the cup jauntier.
 I decided the handle would be more fun if I straightened up the right side. There's now a 90 degree angle there on the upper right corner, which wasn't there before. That's a completely unnecessary step - I just like how it looks.
I've also created a dish. Big blue rectangle with angled sides.
 And this is the finished block. It may or may not get more background along the top and right side before I use it.
6 comments:
Love, love, love the teacup and saucer! It was so fun to see the pictures of how you created it step by step! I will be so glad to finish up some required projects so I can try your techniques!
THe teacups are great. I might have to make another Java Jitters!
Love the teacup - thanks for the tutorial!!
Many thank for your tutorial Teacup,Tonya, is so very nice!!!!
These tea cups are just too cute! Cut it out - I'm so behind as it is... I don't need more ideas....
Tonya, I just adore your teacups - I'm so inspired to make some! You have such wonderful ideas. I know the book you're aiming for will be a huge success - I'll go on the pre-sold list for sure!
I'm sending you good vibes for all the moving issues too ... hopefully when you're settled, you'll be able to look back and think it wasn't so bad after all.
*huge hugs*
Tazzie
:-)
Post a Comment