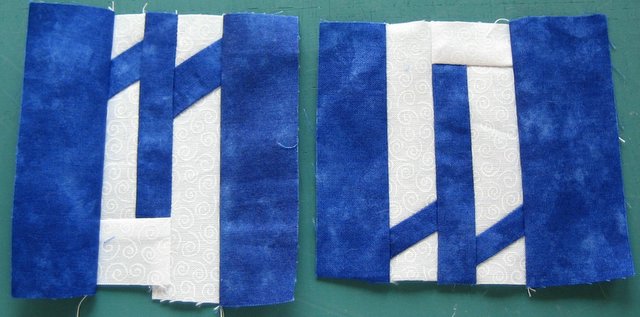
 You'll need two long rectangles of background with slices inserted the same as in the r. This will make ONE m or ONE w.
 Just to give you an idea of how I sew these. If this confuses you, then ignore it. I line up the bottom part of the background at the END of a letter strip.
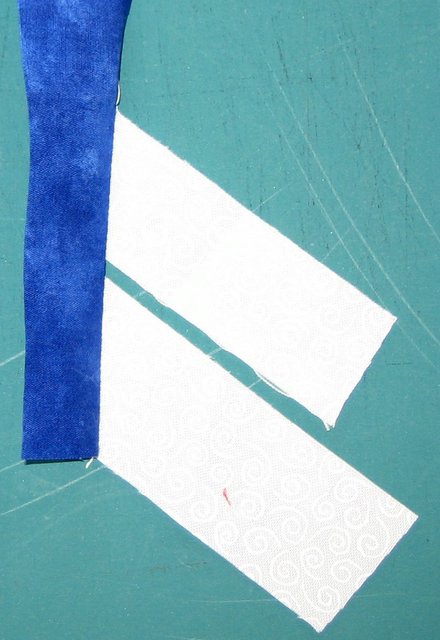
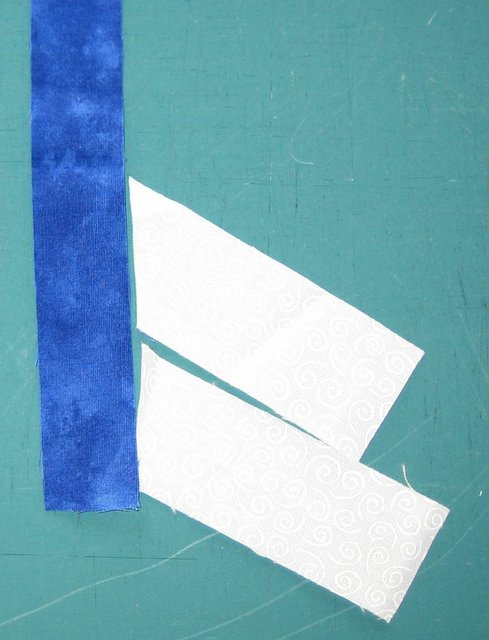 Flip them over right-sides together and sew. Notice that I have a quarter inch of the letter strip sticking down at the bottom. Ya gotta have that whenever you work with angles.
 Fold it back out and THEN cut straight along the background.
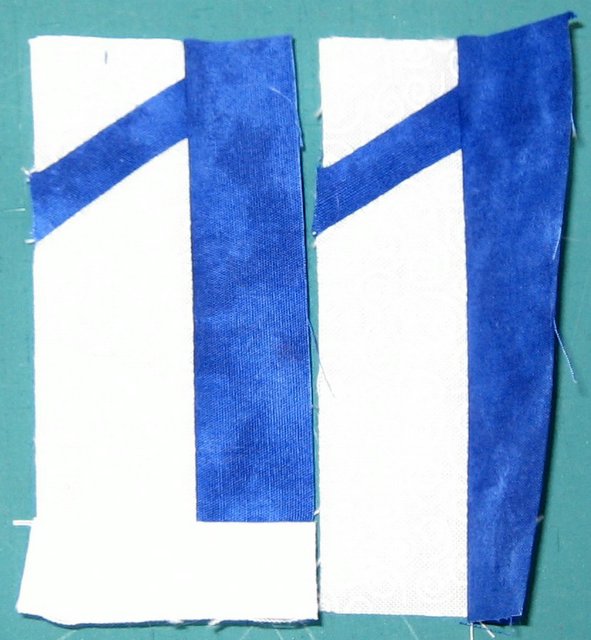
 Add the bit of background to the top and then sew fabric along the right side of both pieces. You can sew these together now or...
 ... make the middle leg shorter by adding background across the bottom of it. You may need to shorten it before you do that. Feel free to skip this step.
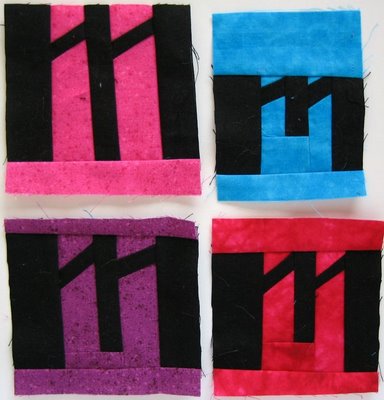
 Anyway, join those together and then sew a letter strip along the left-hand side and voila, an m or w.
4 comments:
wow! you are really going to town while I'm still mucking about!
I especially love the different colors of all the left overs...*VBS* Seeing those m's just made me think of M & M's...sorry...LOL
now I find this m to be the most complicated lower case letter-part of why you saved it for last I know, I appreciate (yes I repeat this a lot!) the many photos you take and give step by step shots of these letters. thanks so very much for all the time you spent doing this for anyone smitten by making letters.
I love the m's. Could look very bad but yours look great!
Thanks for the tutorial. I am going to have to write something on my quilts. If I did though, I would have to think of something profound, yet concise. I think I'm too wordy to put words on my quilt!
Post a Comment