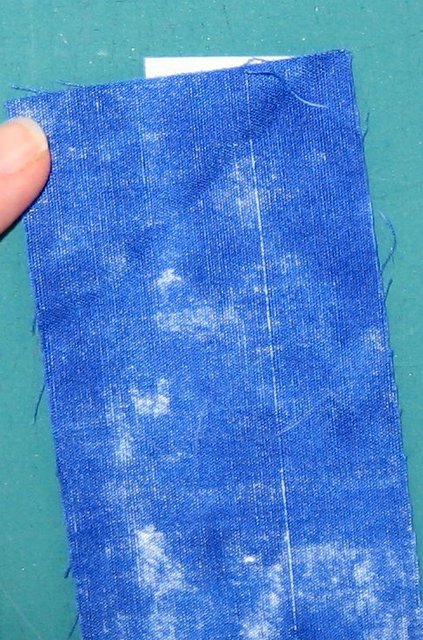
 I like my letters to be a bit wonky, so I like to start out with a slant. You in no way have to do that. You can begin your t with three rectangles - the middle one is the letter fabric.
If you want to play wonky, then start out with one big background rectangle and slice at a slant.
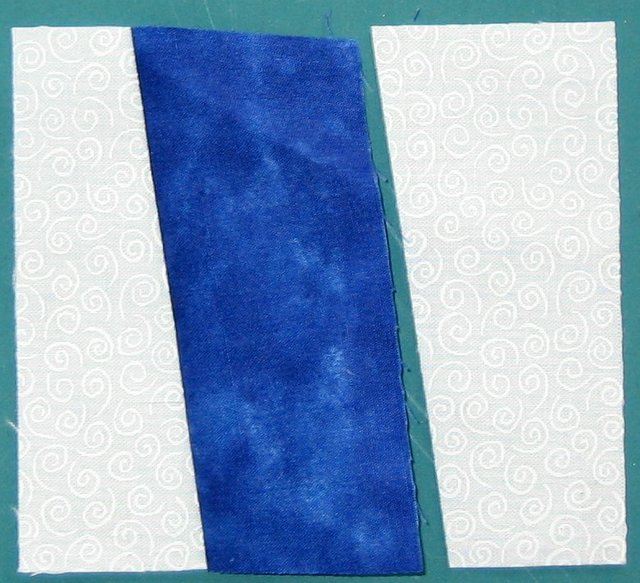
 Now you're going to insert the letter fabric - using a strip is the easiest way to do it. Notice how when I lay them down together, the angle of the letter fabric goes higher than the background (if you forget to do it this way, you'll end up with a shorter letter).
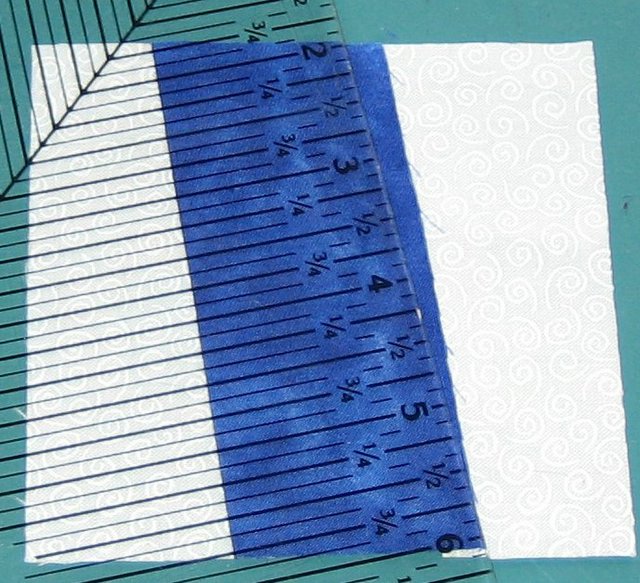
 This is what it looks like when I lay them right sides together. Notice how the letter fabric bumps up a bit. You need that, or again the letter will turn out shorter than expected. My seam allowance is going to go right thru where the two angles meet, if you see what I mean. I never get this exact, so don't worry much about it.
 I opened this up and trimmed straight across the top and bottom. Now I could join the bits together as they are...
 ... but I decided I wanted the t to taper a bit towards the top. [This is a completely unnecessary step - feel free to skip.]
So I overlapped these two pieces by about a quarter inch and then made another slice. Then I sewed the side piece on (you'll again need to bump up the more angular side). The taper is practically unnoticeable in the final t, but it's there.
 Now whether you started with a slant or not, the next step is the same for everybody: slice across the unit. You can make this at a slant or not. The slice should be towards the top (keeping in mind you'll be losing a half inch in seam allowances) unless you want a more radical letter.
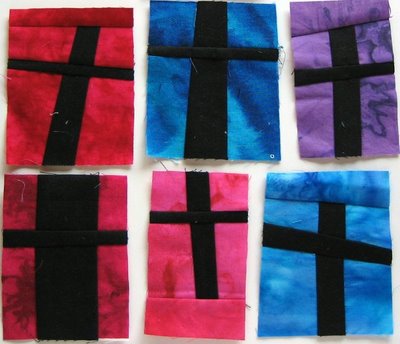
 And then a strip is inserted, and all the sections rejoined to make your t. Here are some that I made for my bed quilt and didn't end up using. They've all been cut down, added to, or left alone where necessary so that they are all 4.25" high.
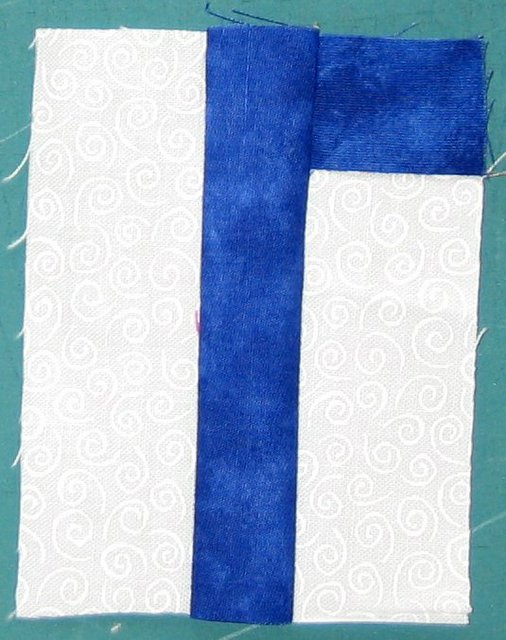
 The f needs that extra bar across the top, but otherwise it's very similar in construction to the t. I've sewn a background rectangle to a letter fabric rectangle. Meanwhile I've sewn a much smaller rectangle across the top of a letter strip.
 Sew those together and trim even.
 And now you're ready to make it just like the t.
 A couple of little f's.
3 comments:
I love the way you do your T. I pieced the background on each side of the upright to get the cross bar but couldn't figure out how to get it to slant. So obvious once I see yours. And much easier.
Very clear and understandable. These come out perfect right down to understanding to cut the two fabrics together so they have the same slant and can be sewn together without having to use fabric tons bigger and cut down in size afterwards.
Perfect!
oooo, ooooo, ooooo - more letters! I was so busy this weekend I dind't blog - you've got more letters up!!!! OK, I have to start printing!
Post a Comment