 Now we have lower-case a, e, and g. Little e is the exact same as little a, so to simplify the instructions, I'm going to just make two a's. These can be a bit confusing, but they're not actually that hard. Here we go.
 Make three little c's. Hmm, this seems familiar. This is a basic starting point for lots of these little letters.
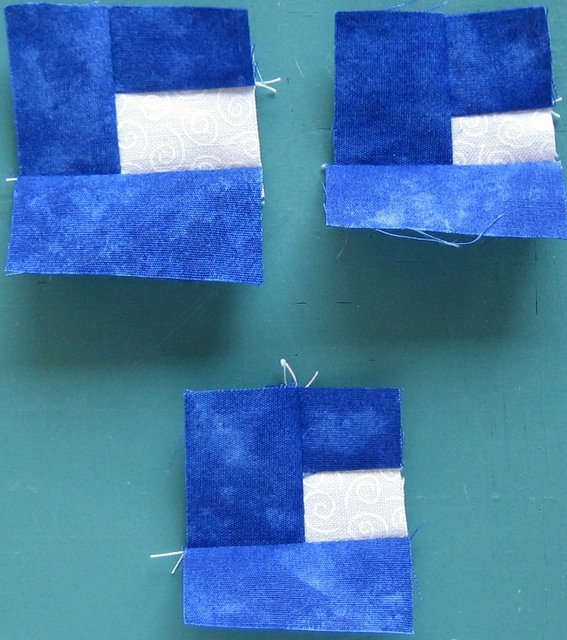 Now you're going to add some background fabric - I use a fairly narrow strip here. The background goes on top of little a and below little g.
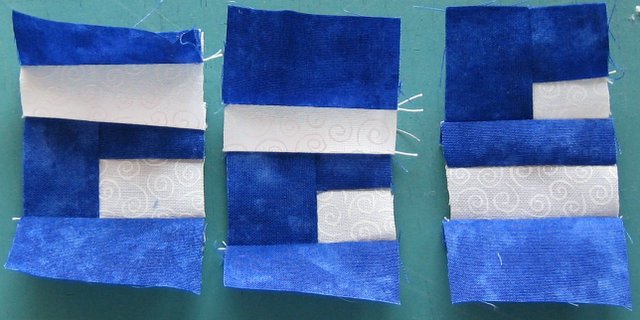
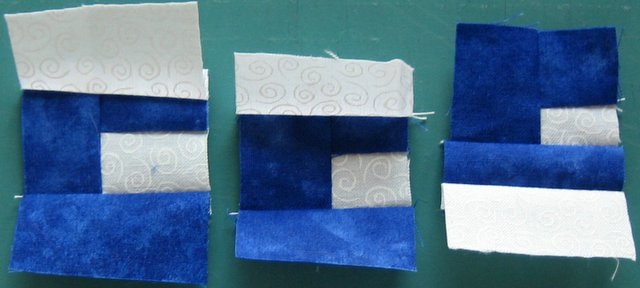 [Note that on the first a I had a slant going, but I straightened up the top of the background, rather than having that slant as well.] Next step is to add letter fabric along that length of background. This will determine the maximum height of your letter.
 And the final step is to add that long bit of letter fabric along the right-hand side (the side that both background bits touch).
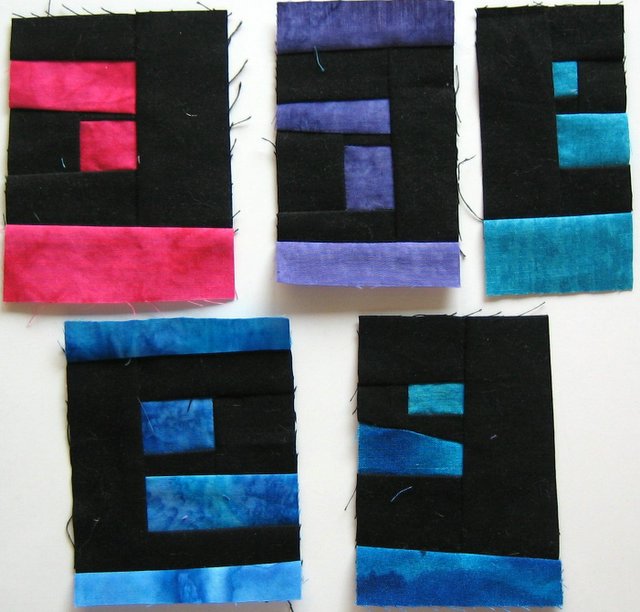
3 comments:
"This will determine the maximum height of your letter."
Excellent!! This is a much better way to say it than all the rambling I did!! LOL!!! I knew there was a consise way to do it!
Funny thing is that when I started to make the a's and e's I ended up with them different from each other. Now I have to go see what I did. I see, I made the a's differnt than yours. I like yours better, but I don't think I'll re-do 6 a's. The e's are like yours...kind of like they get built in a log cabin style progression around the center background piece.
Excellent instructions!
again, terrific photos to go along with clear instructions....thanks!
yep--love the pictures to make the words make sense. I'm such a visual person! Thanks for all your hard work and sharing.
Post a Comment