 This is a baby steps project. It's repetitive so that you can try different ways to make the letters. The Xs and Os, can be put together in 4-patches as I've done for "hugs and kisses" or into 9-patches for tic-tac-toe blocks. [What is that in British English - naughts and crosses?]
I made my blocks 4.5" unfinished so that the 4-patches are 8" finished. At least theoretically - I get my seams too small so mine didn't turn out that exact. And that's 2" finished sashing. This middle bit is 38" finished so it doesn't need much of a border to be a baby blanket. Or you could add another row or row and a half of blocks to make it longer if you're aiming for 40" x 60"
I have 13 each of the Xs and Os, but you can make more or less as you'd like.
I don't know how much fabric you are going to need - it all depends on how you use it. This is a great project for fat quarters.
In the letter fabric, cut 1" and 1.75" and 2.5" strips. They do not have to be perfectly measured and can even slant. This is a good opportunity to use mis-cut strips (the one that you're cutting and then -oops- the ruler slips). You can start with just three (or even two) strips of fabric for your letters and three (or two) strips for the background and then cut more as needed from either the same or different fabrics.
If you have 1.5" and 2" strips use those too or instead of the measurements I gave you. They don't have to be long strips.
For the fabric that will be the background, you will also need some larger squares or rectangles of fabric, about 4.5" maximum.
We're going to start by making some O's, which are made just like Log Cabin blocks. I'm going to tell you the widths of fabric I used to make this O, so you have a starting point.
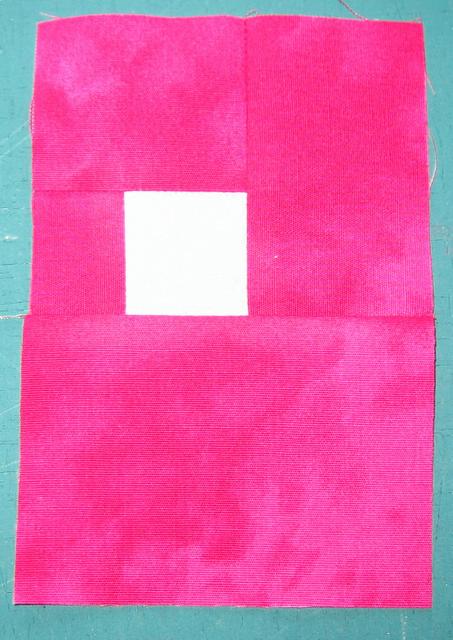
Take a square of background fabric (1.5" x 1.5") and sew it to a thin strip (1") right sides together.

Once you've done that, slice the tail of the strip off, following the line of the initial square.
 Now you're going to sew the unit onto another strip. In my case, this was the 1.75" strip.
 Trim the extra off and sew the unit onto another strip to make the third side of the O. I used the 1.75" strip.
 Trim even and then sew onto the final strip of letter fabric - I used the widest one. Trim that straight once again and you should have a finished O.
Make some more. Start with a really small square; start with a large one; start with narrow long rectangles and make a tall skinny O and one that's fat. Play.
And now the X.
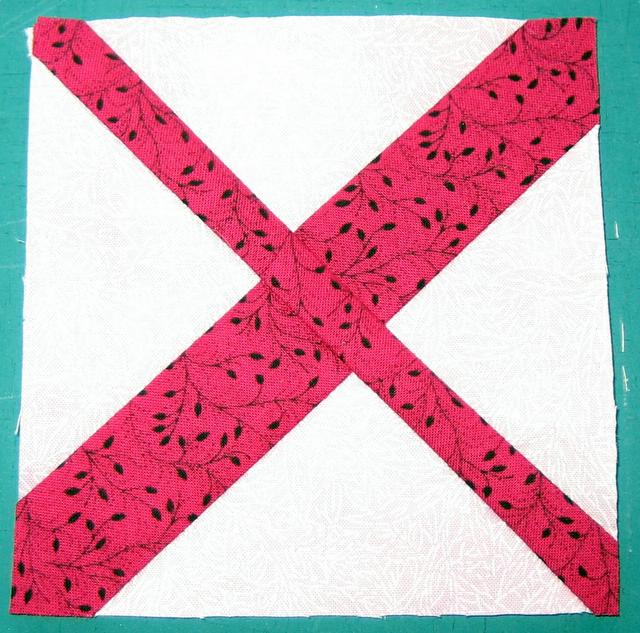 Start with a "large" square of your background fabric. I chose a bit that measured 4" x 4.25". Slice across the block diagonally.
 Now you are going to "insert" a strip. (For your first X block I recommend sticking to the thinner letter fabric strips - I'll explain why later.) I used a 1.5" strip. Don't sew too close to the end of the strip. You want it placed something like this (shown right sides together):
 The next step is to trim even. It's the same thing as you did with the O, only there's an angle involved. Just follow the line of the background block.
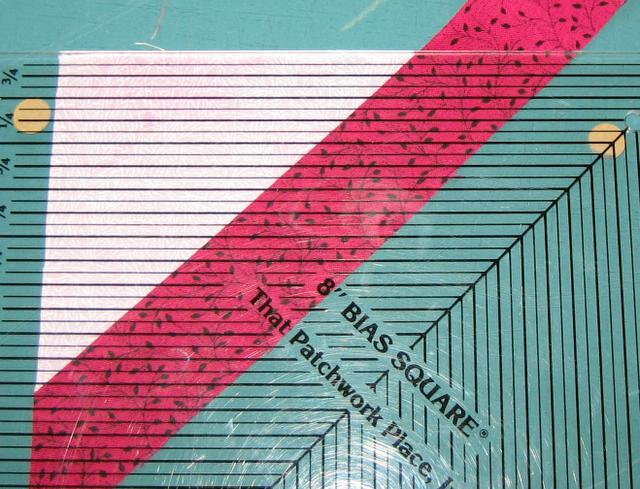 Okay, now sew the triangle of background fabric on. You can center the triangle and end up with a square shape, but if you slide it a bit either way that's fine too - you'll just end up more rectangley.
 Now you're going to slice diagonally again. (sorry the unit isn't placed the same as in the above photo, but I turned it to make my right-handed rotary cut).
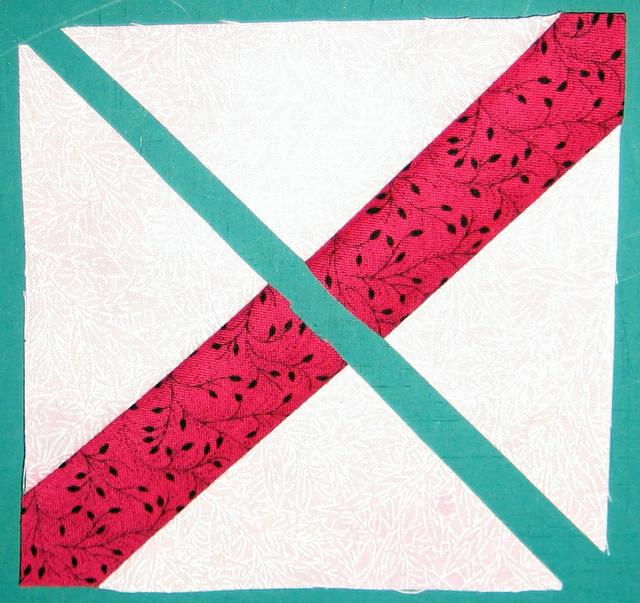 And sew to a letter fabric strip - use the thinnest letter fabric you have. Mine was a 1" strip. If you use a wider strip here than the first one you inserted, it becomes harder to make the legs of the X all meet up in the middle.
 The last step is to sew the last triangle on. Match up the legs on both sides and sew together.
Experiment making Xs. Make a big one; a small one; tall and skinny; use a really wide strip and then a skinny one and then do the reverse; make your first slice without going into the corners and make one where you don't go into any of the corners. Feeling more confident? Try angled strips.
If you've made one of the legs too short on your X, it's easy enough to add an over-sized triangle to the corner of the block. Don't assume that a block doesn't work - sometimes you just need to play with it.
 After you've made several of your Xs and Os, add fabric to them and then cut the blocks down to 4.5" as needed. If you ended up with really big letters, you can make bigger blocks. It's up to you.
Finish the quilt as you'd like.
No comments:
Post a Comment