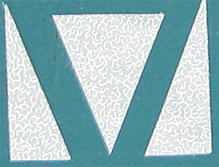
 I sewed the triangle onto the wide l-strip, starting a good measure down so that the letter fabric would go all the way across. (You can work with it just fine if it doesn't.) I knew I didn't want my V to come to a point at the bottom, so I just trimmed the l-strip off so that the unit would measure 3" tall (my unfinished unit size) but you can do that wherever it looks good. My next step was to straighten up the edge, by following the background triangle all the way down (you can see what that looks like in the photo after this one).
 Sew the other leg onto the V. In the photo, I have the skinny b-strip layed out so that you can see where I was going to attach it to the V. Once that's done, I trimmed it even.
Next I needed to get the side background triangles on. My recommended using a rectangle of your widest b-fabric that is slightly taller than your letter. (It can be the same size, but bigger makes it easier). Lay the letter down on top, then slice away so that you get that same angle. Remember that when you are sewing with angles you need that 1/4" overlap.
Having said that, you could also just sew the letter right onto the wide strip, and then cut off any excess. That will give you bias edges, but isn't necessarily a bad way to do it.
Repeat for the other side. At this stage, I recommend leaving all that background on the sides. You may need to cut it down some when you starting adding letters together, or not. Wait and see.
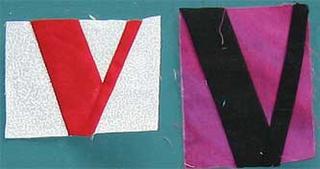
 And here's the final V.
 Talking about V makes me think of the cheesy sci-fi show starring Mark Singer. When was that on, maybe the early 1980's? I definitely watched them all.
No comments:
Post a Comment